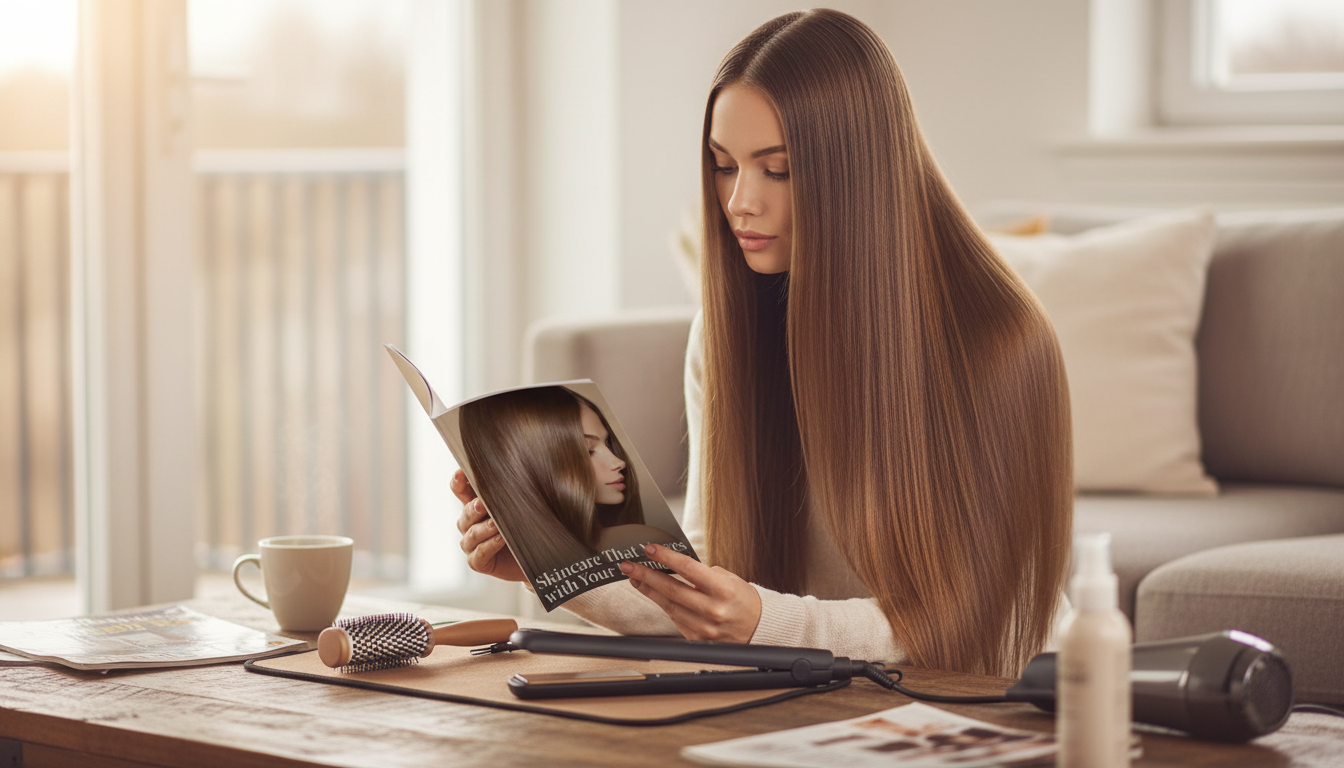
A sleek, straight finish comes down to preparation, controlled heat, and the right order of products—more than just running a flat iron through it. The routine below is designed to be repeatable across hair types, with humidity-proof finishing steps and quick fixes for frizz, dents, and dullness.
“Sleek” hair is the result of an aligned cuticle, consistent tension during styling, and moisture kept in the right place. Frizz happens when the cuticle lifts and grabs humidity, creating uneven texture and flyaways.
Porosity plays a big role: higher-porosity hair absorbs water quickly, swells more easily, and typically needs stronger sealing plus a gentler heat strategy to avoid roughness. Texture matters, too—wavy and curly hair usually needs tighter section control and a stronger blow-dry foundation, while fine, naturally straight hair needs lighter products to avoid looking limp.
Finally, environment matters. Humidity and friction (hoodies, scarves, rough pillowcases) can undo a polished finish unless the final “seal” is set and protected.
Start with a clean base. If hair feels coated, heavy, or oddly resistant to smoothing, clarify as needed—anywhere from weekly to monthly depending on buildup. Follow with conditioner that gives slip, focusing on mid-lengths and ends to reduce tangles and breakage.
Detangle gently using a wide-tooth comb or detangling brush, starting at the ends and moving upward. Avoid aggressive brushing when hair is soaking wet. For drying, swap rough terry towels for a microfiber towel or a soft T-shirt; blot and squeeze instead of rubbing to prevent cuticle lift.
Timing matters: apply leave-ins on damp hair so the product spreads evenly. Too wet dilutes; too dry causes patchy coverage that can translate into uneven shine or frizz.
Heat protectant is non-negotiable. Choose a spray, serum, or cream based on density and porosity, then distribute evenly and comb through so no section is left unprotected. A blow dryer with a concentrator nozzle improves direction and smoothness—aim airflow downward along the hair shaft.
For brushes, a paddle brush speeds up smoothing on straighter textures, while a round brush increases tension and bend control. A boar/nylon mix can add polish. With flat irons, prioritize consistent temperature and smooth plates—snagging plates cause micro-breakage and uneven results.
Optional but helpful: a heat-resistant comb for the chase method, sectioning clips, and a lightweight finishing spray for humidity control. Avoid repeatedly passing over the same section, ironing damp hair, and using max heat “just to be safe.” For damage prevention basics, the American Academy of Dermatology Association offers practical guidance here: Hair care tips to prevent damage.
| Hair type/condition | Best foundation step | Typical heat range (start low) | Finishing focus |
|---|---|---|---|
| Fine or fragile hair | Lightweight blow-dry smoothing + minimal passes | 250–330°F (120–165°C) | Weightless anti-humidity mist; avoid heavy oils at roots |
| Thick or coarse hair | Thorough blowout with tension; smaller sections | 330–390°F (165–200°C) | Serum on ends + strong humidity shield |
| Wavy hair with frizz | Directional blow-dry + cool shot set | 300–370°F (150–190°C) | Seal cuticle with light serum; finish with flexible hold |
| Curly hair aiming for pin-straight | Blowout first (90% of the work) + chase method | 340–410°F (170–210°C) as tolerated | Silicone-based serum + humidity barrier; wrap at night |
| Color-treated or high-porosity | Stronger conditioning + lower heat + fewer passes | 250–350°F (120–175°C) | Extra sealing on ends; minimize re-touching |
A sleek blow-dry does most of the straightening work, which means fewer flat-iron passes later. Divide hair into 4–6 sections and work from the bottom layers upward for consistency. Keep the nozzle pointed downward and maintain steady tension with your brush to flatten the cuticle.
For deeper reading on hair fiber structure and how damage occurs, browse review articles via the NCBI PubMed Central library.
For a ready-to-use routine you can save and print, see Sleek & Chic: Your Complete Guide to Effortlessly Straight Hair (digital download).
If you’re building a broader “maintenance mindset” (sleep, recovery, and daily protection), these guides pair well with a sleek-hair routine: How Sleep Shapes Your Skin and Slows Aging and Your “Broad Spectrum” SPF Checklist.
Start low and adjust only if needed: about 250–330°F for fine/fragile hair, 330–390°F for thick/coarse hair, and lower ranges for color-treated or high-porosity hair. Use heat protectant, make sure hair is fully dry, and aim for one controlled pass per section.
Humidity-proof results come from a fully dry, smooth blowout foundation plus a light anti-humidity finisher (serum on ends, then optional mist or spray). Let hair cool before touching it, and reduce friction with smoother fabrics and a satin/silk pillowcase or bonnet.
For most hair types, a smooth blowout first is better because it reduces the time and number of flat-iron passes needed. Very straight, fine hair may need only minimal blow-dry and a few quick iron touch-ups, but hair should always be fully dry before ironing.


Leave a comment