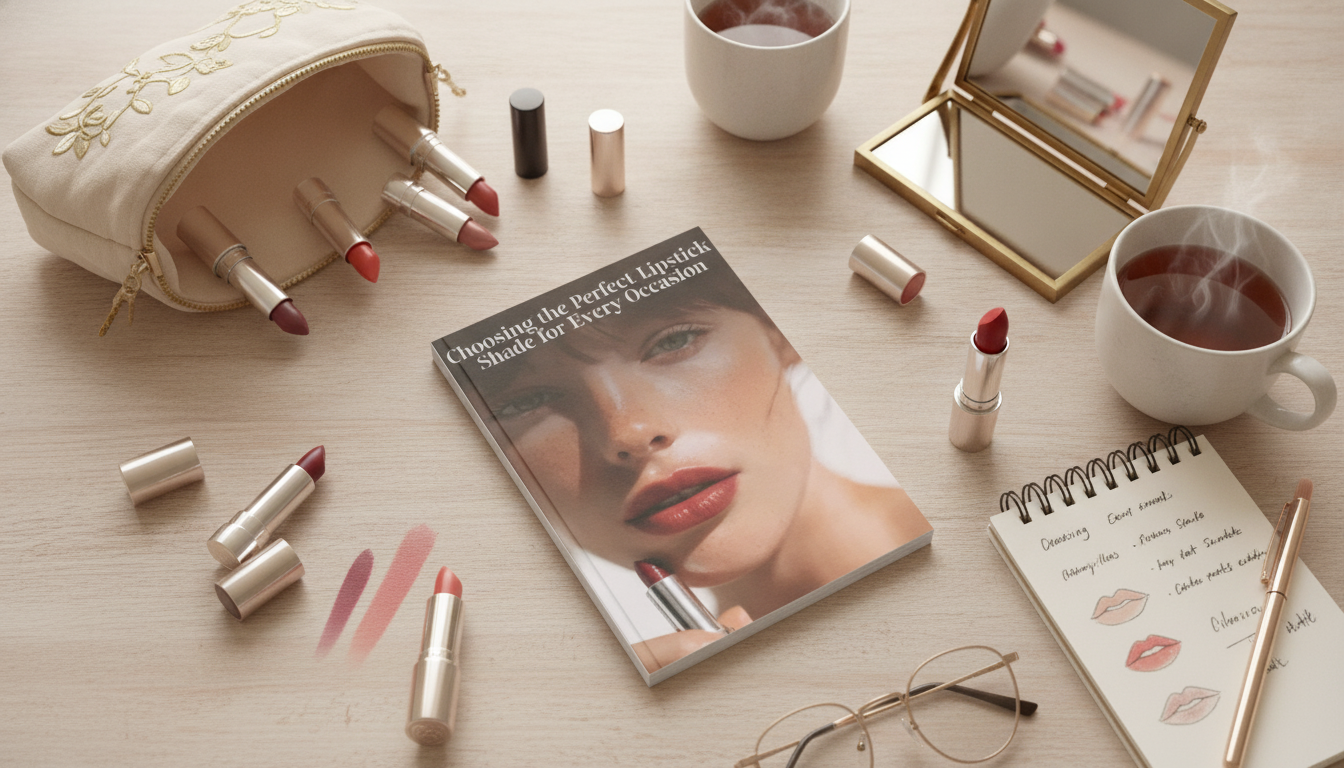
The right lipstick can sharpen a minimalist look, balance bold eye makeup, or instantly make an outfit feel more polished. Shade choice becomes easier when decisions are made in layers: undertone and depth first, then finish and formula, then the specific occasion, lighting, and wear time. Once you know what your skin and lips naturally “pull,” choosing a color stops feeling like guesswork and starts feeling repeatable. For more guidance, see How to choose right color lipstick for occasion – Perfection tips.
Before you think about “nude” or “red,” lock in the foundation: undertone, skin depth, and your natural lip tone. These three factors explain why a lipstick that looks perfect on a friend can look too orange, too purple, or oddly pale on you. For further reading, see The Ultimate Guide to Choosing the Perfect Lipstick for Special ….
Skin depth matters as much as undertone because it affects contrast. On fair skin, a mid-tone berry can read bold quickly; on deeper skin, that same berry may look like a soft everyday color. Deeper complexions often look best with richer pigmentation to avoid a chalky or gray cast—especially with pale nude shades.
Lips aren’t a blank canvas. A nude lipstick can turn peach on one person and brown-mauve on another, depending on natural lip pigment. When you’re unsure, a forgiving shortcut is choosing a mid-tone rose, mauve, or soft berry close to your natural lip depth (not lighter).
Finish is about both aesthetics and practicality. If you want your shade to look “right” for the occasion, think about comfort, transfer, and how much reapplication you’ll realistically do.
For lip comfort basics that support any finish, keep a simple care routine (especially in dry weather). The American Academy of Dermatology’s guidance on lip care basics is a useful reference when lips feel dry or flaky.
Once undertone and finish are set, picking the shade family becomes straightforward. Use these as “starting lanes,” then adjust one step brighter/deeper depending on your preference and your lip pigment.
| Occasion | Best Shade Families | Best Finishes | Helpful Tip |
|---|---|---|---|
| Everyday | Rosy beige, muted mauve, soft pink | Cream, satin, tint | Match lip depth; keep edges softly defined |
| Work | Rosewood, neutral mauve, soft berry | Satin, soft-matte | Choose transfer-friendly formulas for meetings |
| Date night | Brick red, deeper rose, cranberry | Matte, satin | Pair with liner for cleaner shape and longevity |
| Weddings/formal | Blue-red, rose, berry | Soft-matte, satin | Avoid shades that turn ashy in flash photography |
| Night out | Fuchsia, plum, cherry red | Matte + gloss topper, high-shine | Balance bold lips with simpler eye look |
Season also provides an easy shortcut: spring and summer often suit brighter or sheerer versions of your best shades, while fall and winter lean richer (think brown-rose, brick, and berries as reliable staples).
Lipstick looks most “intentional” when it matches the temperature and intensity of what you’re wearing.
Lighting can shift your lipstick more than you’d expect. Daylight shows undertone clearly, while indoor warm bulbs can push peach/coral more orange. Cool LED lighting can pull mauves and berries more purple.
Match the nude to your natural lip depth (often slightly deeper than expected) and keep the undertone consistent with your skin. Adding a lip liner one shade deeper restores definition and prevents that “erased” look.
Mid-tone rosy shades, classic reds, and balanced berries tend to read clearly on camera. Very pale nudes can wash out, and overly frosty finishes may reflect flash in a distracting way.
Use lip liner, apply lipstick in thin layers with blotting in between, and consider stains or long-wear formulas for a stronger base. After meals, focus touch-ups on the inner lip line first since that area fades fastest.


Leave a comment